This is a perfect project for beginner crafters- that adults and kids will love! You’ll need very few supplies and time to create a few sets of adorable magnets in one session.
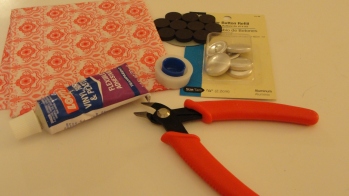
First, gather your materials. I’ve used a self-covered button kit (find these at your local fabric store), 1/2″ magnets, really good glue, some needle nose pliers, scissors, and fabric scraps (small print works best).
Cut out circles of fabric to cover your buttons, the circles should be twice as big across as the buttons that you want to cover.
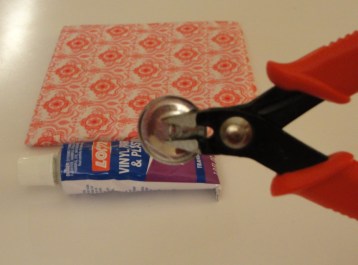
Before covering, use your needle nose pliers to remove the wire loop from the back of the button. It will be easier to attach the magnet if there is a flat surface.
Once that’s completed, it’s time to start covering your buttons. Line up your fabric with what you want centered on the button, then push the button cover and the button into the special button cover contraption that comes with the kit.
Press the button back in firmly so that the button back is secure. Then dab on a little glue on the back, add your magnet, press firmly together, and VOILA! Adorable little magnets!
I used mine to hang this lovely little picture of my Gramps on my refrigerator. Doesn’t he look awesome!!


